
Building a Java Maven CI/CD Pipeline with Jenkins and Docker
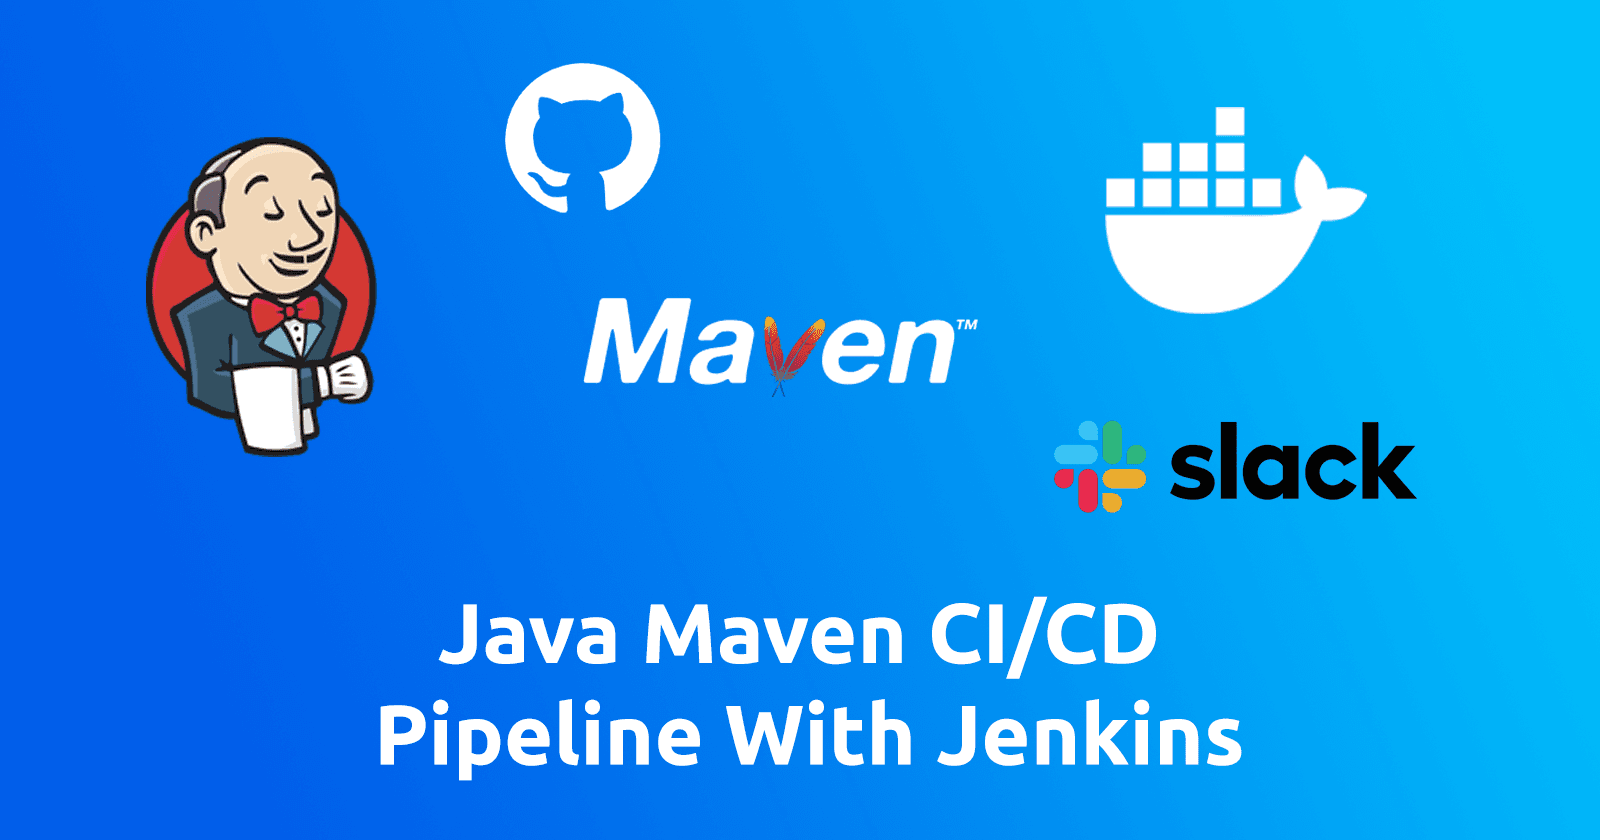
As part of my DevOps learning journey, I wanted to build something practical instead of only learning the theory. I decided to create a complete CI/CD pipeline for a Java Spring Boot application using Jenkins, Maven, Docker, GitHub, and Slack.
My goal was simple: automate everything from code commit to deployment.
I wanted a system where every time I pushed code, the application would automatically build, run tests, create a Docker image, deploy to a server, and notify the team.
After putting all the pieces together, I finally had a pipeline that handled the entire workflow without any manual steps.
How the Pipeline Works
I designed this pipeline to follow a simple workflow.

First, a developer pushes code to GitHub. Jenkins server then detects the change and starts the pipeline automatically. The application is built using Maven, tests are executed, and a Docker image is created.
Once the image is built, Jenkins pushes it to Docker Hub private repository. After that, the new image is deployed to a remote production server on Digital Ocean.
Then automatically increment the application version and commits it to the code repository. Finally, Slack notifications are sent to report whether the build succeeded or failed.
See this Pipeline in Action
* * *Jenkins Setup
Setting Up Jenkins
Before creating the pipeline, I first needed to prepare my infrastructure so Jenkins could communicate with all the required services.
For this project, I used two droplets from DigitalOcean. One droplet was used to run Jenkins, and the other droplet acted as the production server where the application would be deployed.

I decided to run Jenkins inside a Docker container instead of installing it directly on the server. This made the setup easier to manage and allowed me to quickly start Jenkins without worrying about system dependencies.
On the Jenkins droplet, I installed Docker and then started Jenkins using the official Jenkins Docker image. I also mounted a Docker volume (jenkins_home) so that Jenkins data would persist even if the container restarted. After starting the container, Jenkins became accessible through the server’s public IP on port 8080.
Once Jenkins was running, I logged into the Jenkins dashboard and installed the plugins needed for the pipeline.
Jenkins Plugins
I installed the Git plugin, which allows Jenkins to pull code from GitHub repositories. Then I installed the Publish over SSH plugin, which enables Jenkins to connect to the remote server and execute deployment commands through SSH.
And also the SCM Skip plugin for avoid triggering builds from commits containing [ci-skip] message.
I also installed the Slack Notification plugin so Jenkins could send build status updates directly to a Slack channel (#ci-cd).
After installing the plugins, the next step was configuring credentials in Jenkins so it could securely interact with external systems.
Jenkins Credentials
First, I added Docker Hub credentials. These credentials allow Jenkins to log in to Docker Hub and push the Docker images built during the pipeline into the private repository.
Next, I configured GitHub credentials, which Jenkins uses to commit version updates back to the repository as Jenkins user after automatically bumping the application version in pom.xml
Finally, I set up SSH credentials for the production server. I generated an SSH key pair on the Jenkins server and added the public key to the authorized_keys file on the production droplet. This allowed Jenkins to securely connect to the server without needing a password.
With this setup in place, Jenkins was able to communicate with GitHub, push images to Docker Hub, and deploy the application to the remote production server.
Once everything was configured, I was ready to start building the CI/CD pipeline itself.
Jenkins Pipeline

I implemented the pipeline using a Jenkins Declarative Pipeline defined in a Jenkinsfile. The pipeline is divided into several stages, each responsible for a specific part of the process.
Breaking the workflow into stages made the pipeline easier to understand and manage.
pipeline {
 agent any

 tools{
    maven 'maven-3.9.13'
 }

 stages{

    stage('Checkout Version') {
                    steps {
                        checkout scm
                        scmSkip(deleteBuild: true, skipPattern:'.*\\[ci-skip\\].*')

                        script{

                            //Incrementing Version

                            sh "mvn build-helper:parse-version versions:set \
                            -DnewVersion=\\\\({parsedVersion.majorVersion}.\\\\){parsedVersion.minorVersion}.\\\${parsedVersion.nextIncrementalVersion} versions:commit"
                            def matcher = readFile('pom.xml') =~ '<version>(.+)</version>'
                            def version = matcher[1][1]
                            env.IMAGE_NAME = "\(version-\){BUILD_NUMBER}"
                            env.IMAGE_TAG= "dewnuwan/java-maven-app:jma-${IMAGE_NAME}"
                        }
                    }
                }

    stage("Build Project"){
        steps{
            script{

                sh 'mvn clean package'

               //commiting to git
                sh """
                   git config user.name "jenkins"
                   git config user.email "jenkins@thesudofiles.com"
                   git add .
                   git commit -m "[ci-skip] version bump"
                   """
                gitPush(gitScm: scm, targetBranch: 'master', targetRepo: 'origin')

            }
        }
    }

    stage("Test"){
        steps {
            script{
                sh 'mvn test'
            }
        }
    }


    stage("Build Image"){
        steps{
            script{
                withCredentials([usernamePassword(credentialsId: 'dockerhub', usernameVariable: 'USERNAME', passwordVariable: 'PASSWORD')]) {
                    sh """
                        docker build --pull --cache-from \({IMAGE_TAG} -t \){IMAGE_TAG} .
                        echo \(PASSWORD | docker login -u \)USERNAME --password-stdin
                        docker push ${IMAGE_TAG}
                        docker rmi ${IMAGE_TAG}
                       """
                }

            }
        }
    }


    stage("Deploy"){
        steps{
            echo 'Deploying to remote server..'
            sshPublisher(publishers: [sshPublisherDesc(configName: 'prod-server', transfers: [sshTransfer(cleanRemote: false, excludes: '', execCommand: """docker stop java-maven-app
            docker rm java-maven-app
            docker images dewnuwan/java-maven-app --format "{{.ID}}" | tail -n +2 | xargs -r docker rmi
            docker run -d -p 8080:8080 --name java-maven-app ${IMAGE_TAG}""", execTimeout: 120000, flatten: false, makeEmptyDirs: false, noDefaultExcludes: false, patternSeparator: '[, ]+',
            remoteDirectory: '', remoteDirectorySDF: false, removePrefix: '', sourceFiles: '')], usePromotionTimestamp: false, useWorkspaceInPromotion: false, verbose: false)])
        }
    }

 }

    post {

        success {
            slackSend(
                channel: '#ci-cd',
                color: 'good',
                message: """
:white_check_mark: *BUILD SUCCESS*

*Job:* ${env.JOB_NAME}
*Build:* #${env.BUILD_NUMBER}
*Branch:* ${env.BRANCH_NAME}
*Docker Image:* ${env.IMAGE_TAG}
*Duration:* ${currentBuild.durationString}

*Deployment:* <http://168.144.23.78:8080|Open Application>

*Build Logs:* ${env.BUILD_URL}
"""
            )
        }

        failure {
            slackSend(
                channel: '#ci-cd',
                color: 'danger',
                message: """
:x: *BUILD FAILED*

*Job:* ${env.JOB_NAME}
*Build:* #${env.BUILD_NUMBER}
*Branch:* ${env.BRANCH_NAME}

Check logs:
${env.BUILD_URL}
"""
            )
        }

        unstable {
            slackSend(
                channel: '#ci-cd',
                color: 'warning',
                message: """
:warning: *BUILD UNSTABLE*

*Job:* ${env.JOB_NAME}
*Build:* #${env.BUILD_NUMBER}
*Branch:* ${env.BRANCH_NAME}

Review test results:
${env.BUILD_URL}
"""
            )
        }
    }

}
Pipeline Stages
Stage 1 - Checkout Code & Version Bump
stage('Checkout Version') {
  steps {
          checkout scm
          scmSkip(deleteBuild: true, skipPattern:'.*\\[ci-skip\\].*')

   script{

     //Incrementing Version
sh "mvn build-helper:parse-version versions:set \
-DnewVersion=\\\\({parsedVersion.majorVersion}.\\\\){parsedVersion.minorVersion}.\\\${parsedVersion.nextIncrementalVersion} versions:commit"

  def matcher = readFile('pom.xml') =~ '<version>(.+)</version>'
  def version = matcher[1][1]

  env.IMAGE_NAME = "\(version-\){BUILD_NUMBER}"
  env.IMAGE_TAG= "dewnuwan/java-maven-app:jma-${IMAGE_NAME}"

   }
  }
 }
The first thing the pipeline does is pull the latest code from the Git repository.
After checking out the code, I wanted Jenkins to automatically increment the application version. Instead of manually updating the version every time, I used the Maven versions plugin to automatically increase the patch version in the pom.xml file.
mvn build-helper:parse-version versions:set \
-DnewVersion=\({parsedVersion.majorVersion}.\){parsedVersion.minorVersion}.${parsedVersion.nextIncrementalVersion}
For example, if the version was 1.0.0, the pipeline updates it to 1.0.1.
Once the version is updated, Jenkins reads the new version from the pom.xml file and uses it to generate a Docker image tag.
dewnuwan/java-maven-app:jma-1.0.1-15
This means every build produces a unique Docker image version that can be traced back to the pipeline run.
Stage 2 - Build the Application
stage("Build Project"){
        steps{
            script{

                sh 'mvn clean package'

               //commiting to git
                sh """
                   git config user.name "jenkins"
                   git config user.email "jenkins@thesudofiles.com"
                   git add .
                   git commit -m "[ci-skip] version bump"
                   """
                gitPush(gitScm: scm, targetBranch: 'master', targetRepo: 'origin')

            }
        }
    }
After updating the version, Jenkins builds the application using Maven.
mvn clean package
This step compiles the code and generates the JAR file needed to run the Spring Boot application.
Since Jenkins updated the version earlier, I also configured it to commit that change back to the Git repository. To prevent Jenkins from triggering another build from this commit, I added [ci-skip] to the commit message using SCMSkip plugin.
This avoids an infinite build loop.
Stage 3 - Running Tests
stage("Test"){
        steps {
            script{
                sh 'mvn test'
            }
        }
    }
Next, the pipeline runs all unit tests using Maven.
If any test fails, the pipeline stops immediately. This is important because it prevents broken code from reaching production.
Having automated tests as part of the pipeline ensures that every deployment is verified before it goes live.
Stage 4 - Building and Pushing the Docker Image
stage("Build Image"){
        steps{
            script{
                withCredentials([usernamePassword(credentialsId: 'dockerhub', usernameVariable: 'USERNAME', passwordVariable: 'PASSWORD')]) {
                    sh """
                        docker build --pull --cache-from \({IMAGE_TAG} -t \){IMAGE_TAG} .
                        echo \(PASSWORD | docker login -u \)USERNAME --password-stdin
                        docker push ${IMAGE_TAG}
                        docker rmi ${IMAGE_TAG}
                       """
                }

            }
        }
    }
Once the tests pass, Jenkins builds a Docker image for the application.
The Dockerfile packages the Spring Boot JAR file into a container so the application can run in a consistent environment.
FROM eclipse-temurin:25.0.2_10-jre-ubi10-minimal

RUN mkdir app

WORKDIR /app

COPY target/java-maven-app-*.jar .

EXPOSE 8080

CMD java -jar java-maven-app-*.jar
After building the image, Jenkins logs into Docker Hub using stored credentials and pushes the image to the dockerhub registry.

Once the image is successfully pushed, the local copy of the image is removed from the Jenkins server to save disk space. This ensures that the server doesn’t accumulate unused Docker images over time.
Stage 5 - Deploying the Application
  stage("Deploy"){
        steps{
            echo 'Deploying to remote server..'
            sshPublisher(publishers: [sshPublisherDesc(configName: 'prod-server', transfers: [sshTransfer(cleanRemote: false, excludes: '', execCommand: """docker stop java-maven-app
            docker rm java-maven-app
            docker images dewnuwan/java-maven-app --format "{{.ID}}" | tail -n +2 | xargs -r docker rmi
            docker run -d -p 8080:8080 --name java-maven-app ${IMAGE_TAG}""", execTimeout: 120000, flatten: false, makeEmptyDirs: false, noDefaultExcludes: false, patternSeparator: '[, ]+',
            remoteDirectory: '', remoteDirectorySDF: false, removePrefix: '', sourceFiles: '')], usePromotionTimestamp: false, useWorkspaceInPromotion: false, verbose: false)])
        }
    }
After pushing the image to Docker Hub, Jenkins connects to the remote production server using SSH.
The deployment process is simple but effective.
First, Jenkins stops the currently running container. Then it removes the old container and cleans up older Docker images. Finally, it starts a new container using the latest Docker image that was just built.
Within a few seconds, the updated application is running on the server and accessible through port 8080. Everything automated.

Watching the application update automatically without logging into the server manually was very satisfying for me.
Slack Notifications
To make the pipeline more useful, I added Slack notifications.
Whenever a build finishes, Jenkins sends a message to a Slack channel indicating whether the build was successful, failed, or unstable.


The message includes useful information such as the job name, build number, branch, Docker image version, and links to the deployment and build logs.
This makes it easy for the team to quickly see what’s happening with the pipeline.
What I Learned from This Project
Building this pipeline helped me understand how several DevOps tools work together in a real world workflow.
I learned how continuous integration ensures that every code change is automatically built and tested. I also saw how containerization with Docker helps maintain consistency across environments.
Automating version updates made deployments easier to track, while automated deployment removed the need for manual server work.
Most importantly, the pipeline showed me how automation can reduce human error and make the development process much faster.
Final Thoughts
Creating this CI/CD pipeline was a great learning experience.
It was exciting to see the entire workflow run automatically from code commit to deployment without any manual intervention.

This project gave me practical experience with Jenkins, Maven, Docker, GitHub, and Slack integration, and it helped me better understand how modern DevOps pipelines work.
In the future, I plan to expand this project by exploring container orchestration tools like Kubernetes, infrastructure automation, and more advanced deployment strategies such as blue-green deployments.
There is still a lot to learn, but this project was a big step forward in my DevOps journey.